Strength · Beginner
Pull up progression: your path to your first pull-up
This pull-up progression plan builds the strength for your first strict pull-up through dead hangs, inverted rows and slow negatives, three days a week for about 25 minutes. It works whether you cannot yet do one rep or you already have a few and want to build toward ten.
Your week
Sessions
Pull-up practice
| Exercise | sets | Rest | |
|---|---|---|---|
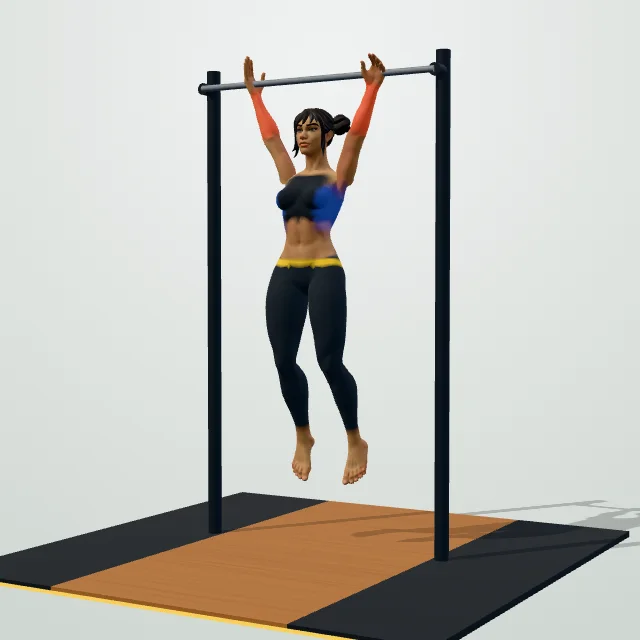
| Dead Hang | 3 × 30 s | 60 s |
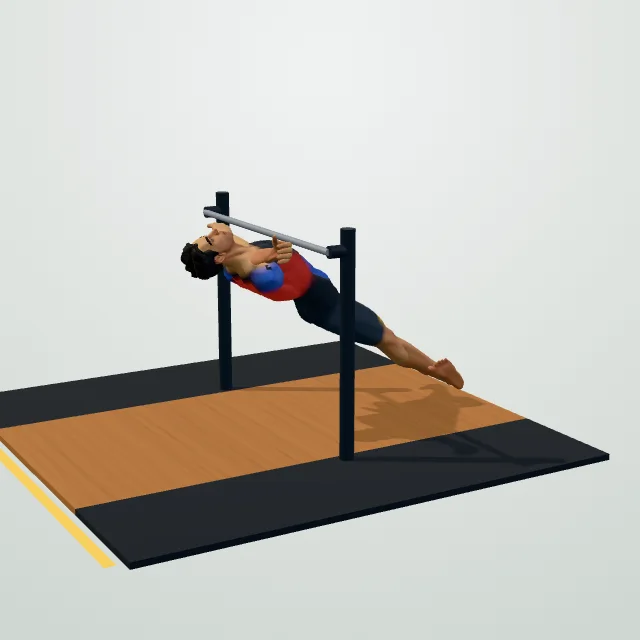 | Inverted Row | 3 × 8-12 | 90 s |
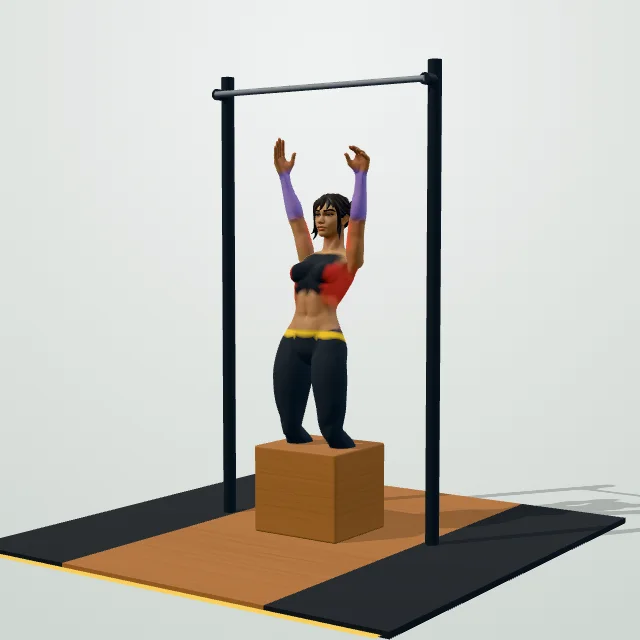 | Negative Pull-Up | 4 × 3-5 | 120 s |
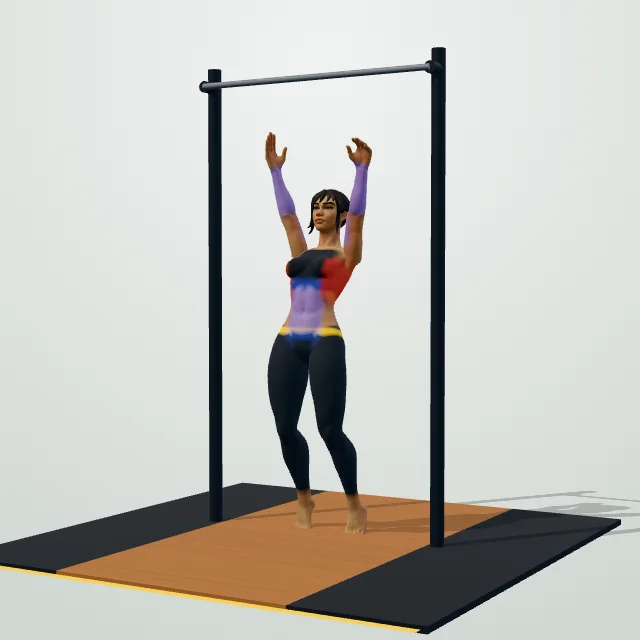 | Pull-Up | 2 × max | 180 s |
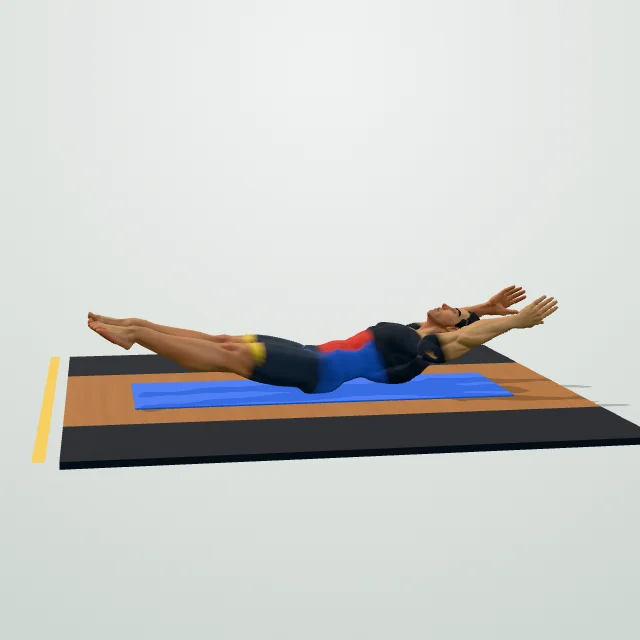 | Hollow Body Hold | 3 × 20 s | 45 s |
How to progress
- Weeks 1–3: hangs, rows and 5-second negatives. When you can lower yourself slowly for 5 reps, start adding single pull-ups.
- Add one rep to your total each week.
A pull-up progression plan builds the specific strength a strict pull-up needs — grip endurance, a strong lat pull and control through a full range of motion — in stages, rather than expecting you to jump straight to a full rep. This plan uses dead hangs, inverted rows, negative pull-ups and pull-up attempts across five exercises, three days a week, in about 25 minutes.
Who this pull-up progression is for
This plan is for anyone who cannot yet do a strict pull-up, or can only do 1–2 and wants a structured path toward 10. It needs a pull-up bar you can hang from safely, at home or at a gym. If you are working on general upper-body strength rather than specifically pull-ups, the calisthenics workout for beginners covers similar ground alongside pushing and leg exercises, and the back and biceps workout is a good next step once pull-ups feel solid.
How to run the session
Work through dead hang, inverted row, negative pull-up, pull-up attempts, and finish with a hollow-body hold for core strength, in that order. Rest 60 seconds after the dead hang and inverted row, 2 minutes after the negatives (they are demanding on your grip and lats), and a full 3 minutes before and between your pull-up attempts, since these should be near-maximum effort every time. Grip strength fatigues quickly and predictably across a session, so doing the exercises in this order — building up to the hardest, most specific movement — gives you the best chance at your pull-up attempts.
How hard each exercise should feel
On the dead hang, aim to hold for the full 30 seconds with your shoulders slightly engaged, not fully relaxed and sagging, which protects your shoulder joints as you hang. On negative pull-ups, jump or step up to the top position, then lower yourself as slowly as you possibly can — 3 seconds is fine to start, aim for 5 or more as you improve — since the slow lowering is what builds the specific strength for the concentric (pulling up) portion of a full rep. On your pull-up attempts, use an assisted pull-up machine or a resistance band looped under your foot if you cannot yet manage even one unassisted rep, and do as many good reps as you can (marked "max" in the plan) rather than stopping at an arbitrary number.
How to progress week to week
Weeks 1–3: focus on dead hangs, inverted rows and slow 5-second negatives, and do not worry yet about a full pull-up — this phase builds the base strength that makes the rest of the plan work. Once you can lower yourself under control for 5 reps in a row on the negative, start adding single pull-up attempts, using an assisted machine or band if needed, and celebrate every additional rep as real progress. After that, add one rep to your total across all your pull-up sets each week: if you got 3 total reps this week, aim for 4 next week, however you split them across sets. This step-by-step approach is a specific application of the same idea in the progressive overload guide — progressing leverage and assistance instead of external weight.
Adapting the plan: no bar, plateaus, extra help
No pull-up bar at home: a sturdy, low horizontal bar in a park, or a doorframe pull-up bar, works just as well — the inverted row can also be done under a sturdy table if nothing else is available. Progress has stalled for several weeks: check that you are still adding a small amount of difficulty regularly (a slower negative, an extra rep), since staying at exactly the same level rarely breaks through a plateau on its own. Extra help: a resistance band looped over the bar and under one foot or knee reduces the effective weight you are lifting, letting you practice the full movement pattern before you can do it completely unassisted.
Recovery basics
Grip and lats need real recovery time after a hard pull-up session, so keep at least a day between sessions, as this plan’s schedule already does. Forearm and grip fatigue after your first few sessions is completely normal as your body adapts to hanging and pulling; sharp elbow or shoulder pain is not, and is worth easing off and checking with a doctor or physiotherapist if it persists. Sleep and consistent training matter more here than any single session’s intensity.
Common mistakes on a pull-up progression
- Skipping straight to full pull-up attempts every session: repeatedly failing at a movement you are not yet ready for builds frustration more than strength. Trust the earlier steps in the plan.
- Lowering too fast on negatives: dropping quickly from the top skips the part of the movement that builds the most strength. Fight gravity on the way down, not just the way up.
- Using excessive kipping or swinging: swinging your legs to generate momentum can get you over the bar, but it trains a very different (and less useful) skill than a strict pull-up.
- Ignoring grip training: a weak grip often fails before your back muscles do. The dead hang exercise directly targets this and should not be skipped even once pull-ups start improving.
- Training pull-ups every day: the grip and lats need at least a day to recover; daily attempts usually slow progress rather than speeding it up.
What to do next
Use the plan builder to fit this progression into your week, and move on to the back and biceps workout or calisthenics workout for beginners once you can do several clean pull-ups. The back exercise hub has more pulling variations to add once your first pull-up is behind you.
Questions people ask
How long does it take to get your first pull-up?
Do I need a pull-up bar at home?
What if I cannot do even one negative pull-up?
How slow should the negative pull-up be?
Is this pull-up progression good for women?
Can I do pull-ups every day to progress faster?
What should I do once I can do 10 pull-ups?
General fitness information, not medical advice. Check with a doctor or physiotherapist before starting if you have a health condition, an injury or are pregnant. Stop if you feel chest pain, dizziness or sharp pain.