Chest · Home, no equipment
Decline push-up: more upper chest, more challenge
Raising your feet turns a standard push-up into a harder, more upper-chest-and-shoulder-focused exercise, without needing any extra weight.
- Primary
- ChestFront delts
- Level
- Intermediate
- Type
- Compound · Both sides together
- Sets × reps
- 3 × 8-12 reps
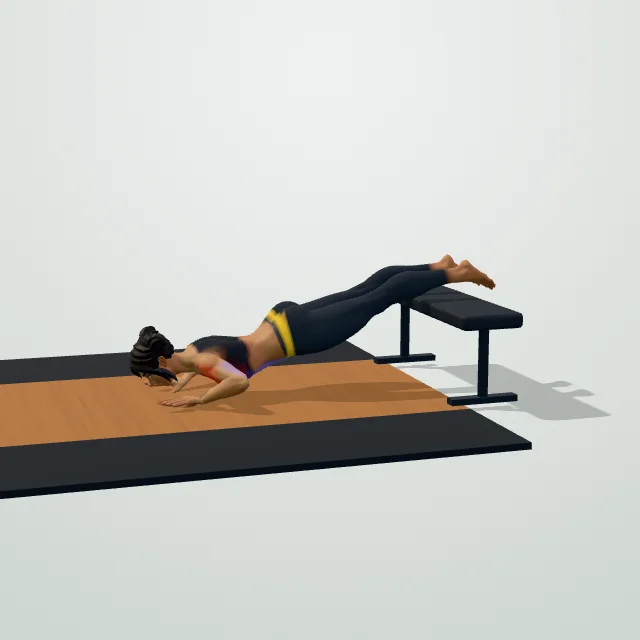
How to do it
- Place your hands slightly wider than shoulder width on the floor.
- Rest your feet on a stable bench, step, or sturdy chair.
- Straighten your body from head to heels, brace your abs and glutes.
- Lower your chest toward the floor, elbows at about 45°.
- Press back up until your arms are straight.
- Repeat, keeping the same body line every rep.
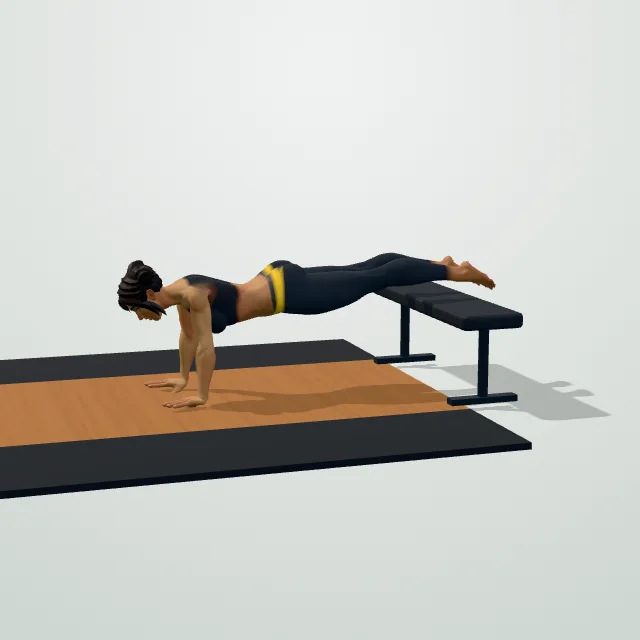
Coach cues
- Body straight, head to heels.
- Lower with elbows at about 45°.
- Brace your core, do not let hips sag.
- Press up, keep the line straight.
Breathing: Breathe in as you lower your chest to the floor, then breathe out as you press back up.
Common mistakes
Make it easier / Make it harder
Sets and reps by goal
| Goal | sets | reps | Rest |
|---|---|---|---|
| Strength | 4–5 | 3–6 | 2–4 min |
| Muscle growth | 3–4 | 6–12 | 90–150 s |
| Endurance | 2–3 | 15–25+ | 30–60 s |
The decline push-up is a push-up done with your feet raised on a bench, step, or sturdy chair, which shifts a larger share of your bodyweight onto your arms and shoulders. It is a natural next step once a standard push-up feels manageable and you want more challenge without adding external weight.
Muscles worked and why
The chest is still the prime mover, but raising your feet shifts more emphasis onto the upper chest and the front shoulders compared with a standard push-up, in a direction similar to an incline bench press. The triceps assist through the press, and your abs work harder to keep your body straight, since more of your length is now unsupported between your raised feet and your hands.
Benefits
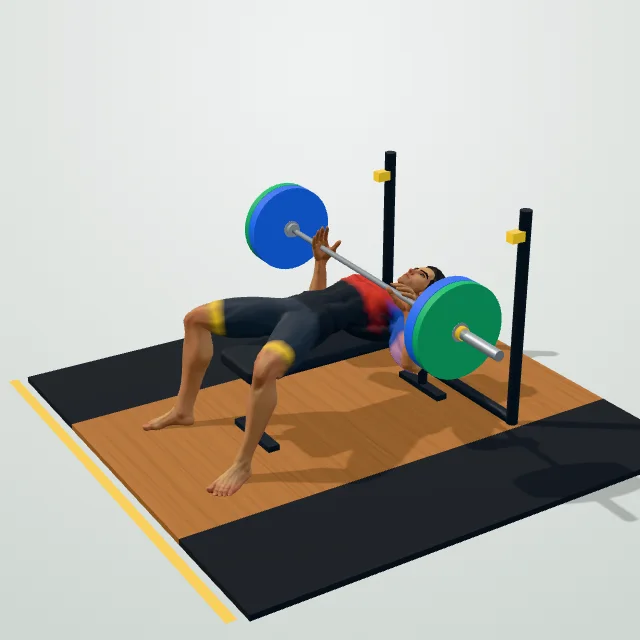
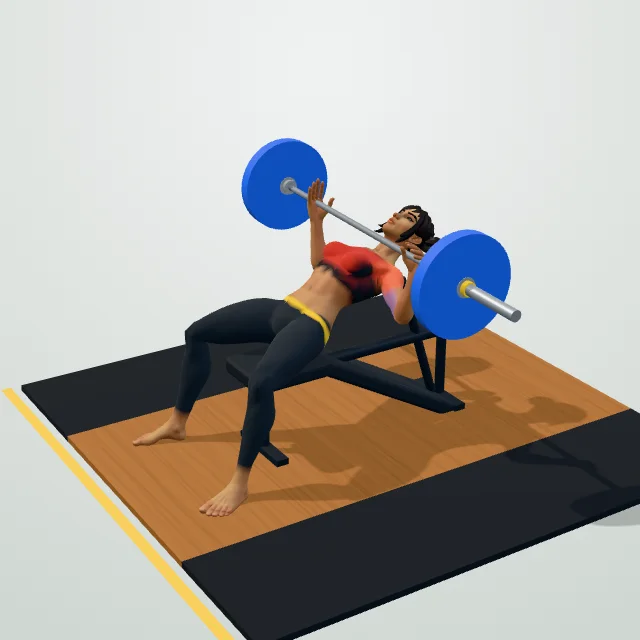
Raising your feet increases the percentage of your bodyweight your arms and shoulders have to press, which is a simple way to keep progressing with push-ups once the standard version stops being challenging, without needing a weighted vest or extra equipment. The steeper body angle also brings in more upper chest and shoulder work, giving your push-up routine a bit of the same variety that flat, incline and decline bench pressing gives a barbell routine.
Foot height, hand position and body line
Place your hands slightly wider than shoulder width on the floor and rest your feet on a stable bench, step, or sturdy chair behind you. Keep your body in a straight line from head to heels — this is harder to maintain here than in a standard push-up, since more of your weight sits toward your hands, so brace your abs and glutes deliberately rather than letting your hips sag.
Lower your chest toward the floor, elbows at roughly 45° from your torso, then press back up until your arms are straight. Start with a lower foot height (a step) before moving to a higher one (a bench), since a higher foot position increases the load significantly and is easy to underestimate the first time.
How to program it
3 sets of 8–12 reps with 60–90 seconds of rest is a common range once you have built up from standard push-ups. Once you can complete 12–15 clean reps at a given foot height, raise it slightly for more challenge, following the same idea as progressive overload. Leave a rep or two in reserve rather than grinding every set to failure, per the RPE and RIR guide.
Progressions
Build up to decline push-ups from the standard push-up once that feels comfortable for 15–20 reps. From here, a weighted vest, a slower lowering phase, or a single-arm-assisted version all add further challenge. If your goal is specifically more upper chest work rather than more total difficulty, the incline dumbbell press is a loadable alternative that targets the same area.
Decline vs incline push-up
These sit at opposite ends of the same scale: raising your feet (decline) increases the load and shifts emphasis toward the upper chest and shoulders; raising your hands (incline) reduces the load and is a common regression for beginners. Most push-up progressions move from incline, to standard, to decline as strength builds.
Safety: who should modify it
Use a stable surface for your feet that will not slide or tip, and start with a lower height than you think you need, since the extra load is easy to underestimate. Keep your body straight rather than letting your hips sag, which strains the lower back, and stop if you feel sharp pain in the shoulders or wrists rather than pushing through it. This variation demands more core and shoulder control, so build up to it gradually rather than starting here.
Why the core works harder here
With your feet raised, more of your bodyweight sits unsupported between your hands and the bench behind you, which means your abs and lower back have to work harder to resist your hips sagging than they do in a standard push-up. This is a useful side benefit if you are also training your core, but it also means fatigue in the abs can show up before your chest and shoulders are fully worked, especially early on. If your hips start sagging before your arms feel tired, that is a sign to lower the foot height rather than pushing through with broken form.
Questions people ask
What muscles does the decline push-up work?
Are decline push-ups harder than regular push-ups?
What foot height should I use for decline push-ups?
Do decline push-ups work the upper chest?
When should I move to decline push-ups?
How many decline push-ups should I do?
Are decline push-ups safe?
General fitness information, not medical advice. Check with a doctor or physiotherapist before starting if you have a health condition, an injury or are pregnant. Stop if you feel chest pain, dizziness or sharp pain.