Shoulders · Home, no equipment
Handstand push-up: press your full bodyweight overhead
Kicking up into a wall handstand and pressing your whole bodyweight overhead is one of the toughest tests of shoulder strength calisthenics has to offer, and one of the most satisfying skills to finally earn.
- Primary
- Front deltsTriceps
- Secondary
- Side deltsTrapsAbs
- Level
- Advanced
- Type
- Compound · Both sides together
- Sets × reps
- 3 × 3-6 reps
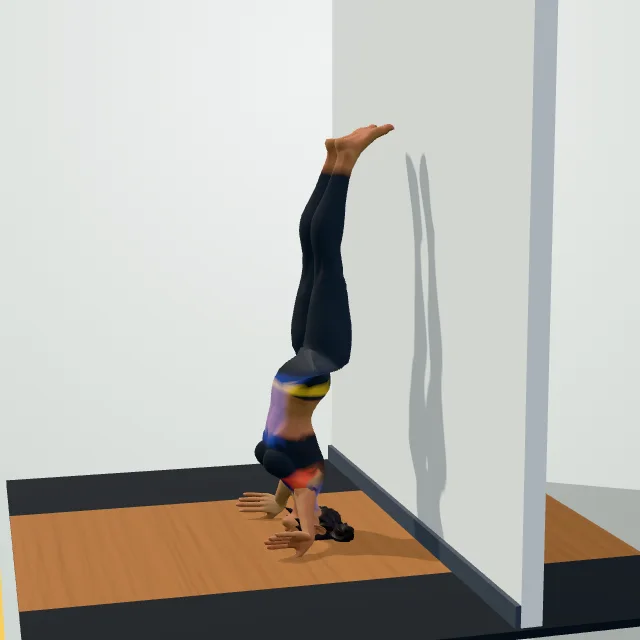
How to do it
- Kick up into a handstand with your back to a wall.
- Set hands shoulder-width apart, heels resting on the wall.
- Brace your core and glutes for a straight body line.
- Bend your elbows to lower your head toward the floor.
- Press back up to full arm extension.
- Keep your body straight throughout, without piking your hips.
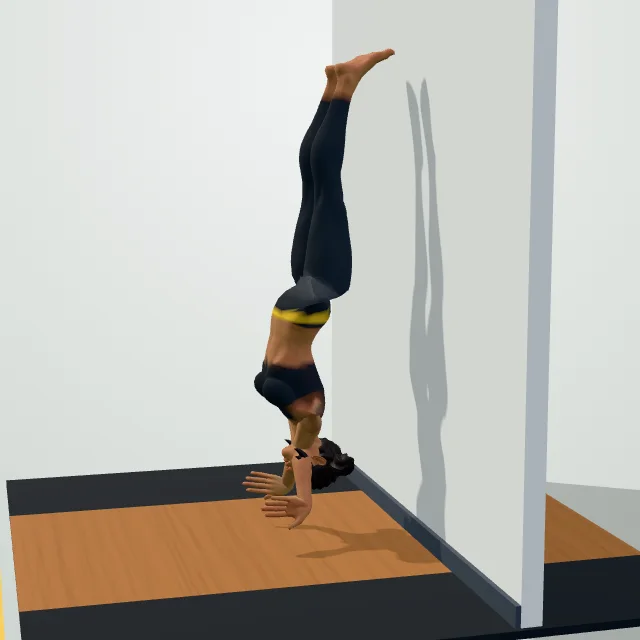
Coach cues
- Kick up, heels resting on the wall.
- Brace core and glutes, straight body line.
- Lower your head toward the floor slowly.
- Press back up to full extension.
Breathing: Breathe in as you lower your head toward the floor, and breathe out as you press back up.
Common mistakes
Make it easier / Make it harder
Sets and reps by goal
| Goal | sets | reps | Rest |
|---|---|---|---|
| Strength | 4–5 | 3–6 | 2–4 min |
| Muscle growth | 3–4 | 6–12 | 90–150 s |
| Endurance | 2–3 | 15–25+ | 30–60 s |
The wall handstand push-up flips the overhead press upside down: you kick up into a handstand against a wall, then bend your elbows to lower your head toward the floor and press back up. Because you are pressing your entire bodyweight rather than an external load, it is one of the most demanding bodyweight shoulder exercises there is.
Muscles worked
The front delts and triceps drive the press, since your arms are working almost directly overhead against your full bodyweight rather than a fraction of it, as in most other pressing exercises. Your side delts and traps assist and stabilize your shoulders, and your core and glutes brace hard against the wall to keep your body in a straight, controlled line rather than arching or piking through the movement, especially as fatigue builds in the final reps.
Benefits
- Extreme shoulder and triceps strength. Presses your full bodyweight through a demanding range.
- No equipment needed. Just a wall and floor space.
- A genuine strength milestone. One of the clearest calisthenics benchmarks for upper-body pressing power.
- Builds body control. Balancing and bracing upside down carries over to other inverted and gymnastic skills.
- Rewarding to train toward. Because it takes real, patient progression to earn, most lifters find it a satisfying long-term goal.
Technique and progression
Kick up into a handstand with your back to a wall, hands roughly shoulder-width apart about 15–20 cm from the wall, fingers spread wide for a stable base, and your heels resting against it for balance. Brace your core and glutes to keep a straight line from wrists to ankles, then bend your elbows to lower the top of your head toward the floor between your hands.
Press back up to full arm extension, keeping your body straight rather than piking your hips out. If a full range feels too far away, place a folded mat or pillow under your head as a target and work partial-range reps, or practice the wall-facing version with your chest toward the wall for a stricter, more controlled path. Keep your gaze on the floor between your hands rather than looking forward, which helps keep your neck in a neutral position and your balance steady throughout the rep.
Sets, reps and progression plan
| Stage | Sets × reps | Rest | Notes |
|---|---|---|---|
| Building strength | 3 × 3–6 | 90 sec–2 min | Partial range or pike push-ups |
| Working the skill | 3–5 × 1–3 | 2 min | Full range against the wall |
Build toward it with pike push-ups, adding feet elevation gradually until you can hold a wall handstand comfortably before pressing. Once the movement is solid, it fits well in a calisthenics routine as your main pressing exercise for the session.
Handstand push-up vs pike push-up vs overhead press
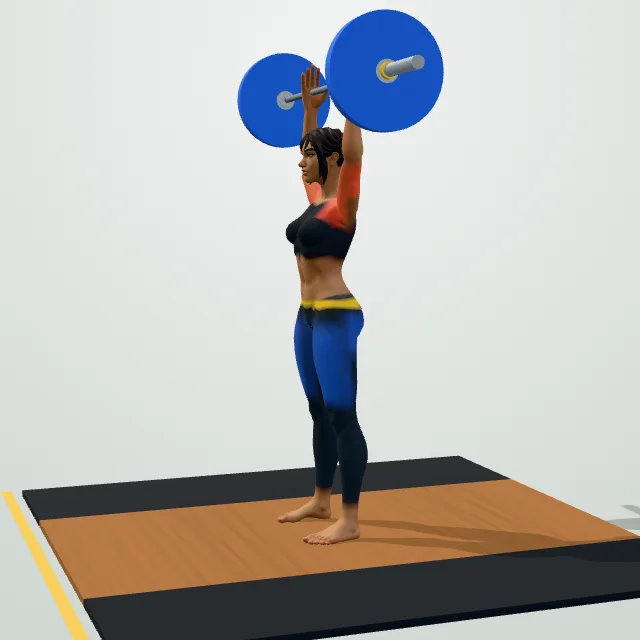
The pike push-up is the natural regression, keeping your feet on the ground so you carry less than your full bodyweight while learning the same pressing pattern. Against a barbell overhead press, the handstand push-up trains a similar muscle group but under a fixed, unadjustable load — your bodyweight — so progression relies on range of motion and rep count rather than adding small increments of weight.
Warming up before you go upside down
Spend a few minutes on wrist circles, shoulder mobility and short wall handstand holds before attempting any presses, since the wrists in particular take unfamiliar load in this position. Our warm-up guide covers a fuller routine, and reading through exercise safety: when to stop is worth doing before you start training inverted.
Safety notes
This is an advanced exercise — build a strong foundation with pike push-ups and comfortable handstand holds before attempting reps. Keep a spotter or soft surface nearby while learning, and stop if you feel wrist, neck or shoulder pain rather than pushing through it. Anyone new to inverted positions should build up wall holds gradually before adding pressing, and avoid training this move on a hard, unpadded surface until you are confident holding and controlling the handstand itself.
Progressed patiently through pike push-ups and partial-range reps, the handstand push-up is a safe long-term goal that builds genuinely rare upper-body strength.
Questions people ask
What muscles does the handstand push-up work?
Is the handstand push-up too advanced for beginners?
How do I progress toward a handstand push-up?
Is the handstand push-up bad for the shoulders?
Handstand push-up vs pike push-up — what is the difference?
Do handstand push-ups build muscle?
How many handstand push-ups should I aim for?
General fitness information, not medical advice. Check with a doctor or physiotherapist before starting if you have a health condition, an injury or are pregnant. Stop if you feel chest pain, dizziness or sharp pain.